14 Sep, 2014
Working Button Holes

Email me des@desmerrion.com
Find Us
Desmond Merrion Bespoke Tailor
59, Bridge Street, Castleford, WF10 1HH.
14 Sep, 2014

Making a hand-made button-hole isn’t an easy task, (the term is working a button-hole) and a badly executed button-hole will certainly spoil the finished look of the whole coat. Working half decent working button-holes only comes with experience, and lots of it.
Good preparation is the key and the process starts by first marking the placement of the button-holes, ensuring that the button-hole is marked straight. I have seen many working button-holes that have been worked crooked, horrible! The button-hole length is then decided, which is dictated by the size of the actual button.
The button-hole is then cut through and the raw edges are bound with a general sewing cotton to prevent the cloth from fraying. A piece of gimp is then cut which gives the button-hole body and also controls the edges.
Gimp is a thick cord type of thread, sometimes the outer is made from pure silk over a non silk core. This gimp is then laid close to the cut edge of the working button-hole and whipped over with a specific button-hole stitch with pure silk button-hole twist.
It sounds rather complex, but like anything that’s worth doing well it simply takes lots of practice to master.
The picture below shows a hand-made button-hole that I have worked. This coat button-hole has been worked on a clients coat, it’s one of the button-holes for the coat front. This cloth is a lovely bright blue mohair mix, a 7oz Super 120’s and kid mohair blend.
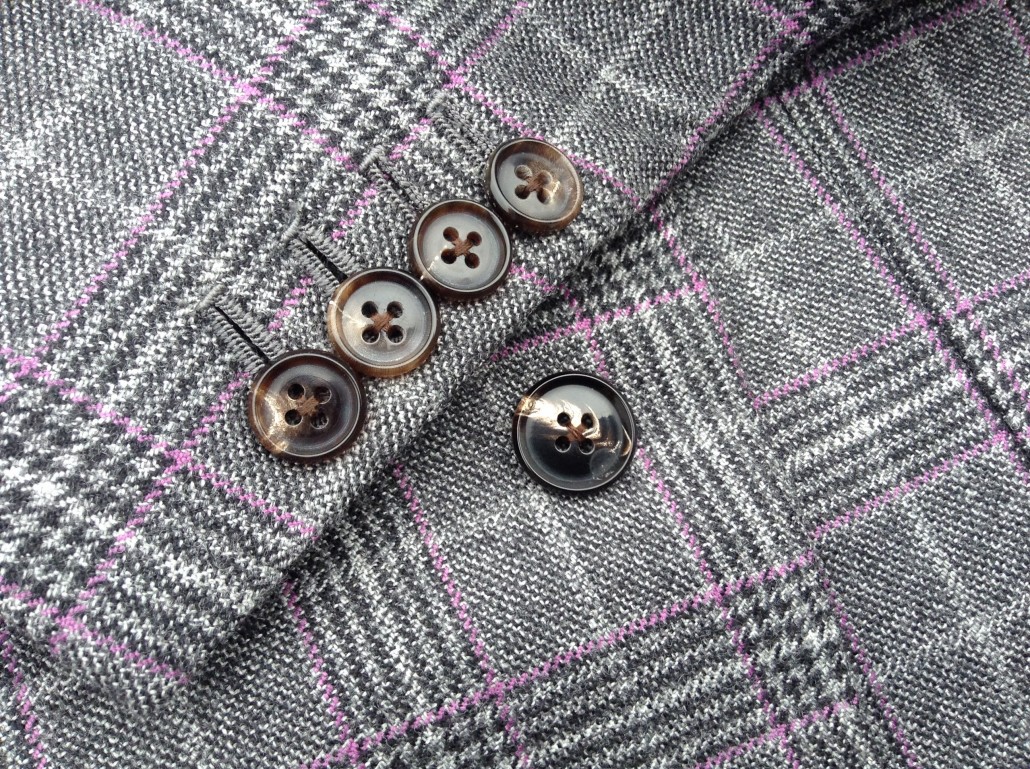
The picture below shows the sleeve cuff on a coat that I recently made for myself. The cloth is a lovely grey/purple Super 130’s with Cashmere woven in Yorkshire, and is a 10oz cloth. This cloth is butter soft and I absolutely love it. There are two real button holes that I can actually open, and two sham, or fake holes That can’t be opened. The buttons are a lovely mottled real horn in a light brown colour.