1 Feb, 2015
Tweed Coat

Email me des@desmerrion.com
Find Us
Desmond Merrion Bespoke Tailor
59, Bridge Street, Castleford, WF10 1HH.
1 Feb, 2015

I have recently made a bespoke tweed coat and a Chesterfield overcoat for a good client of mine that lives over in York.
The cloth we chose is from Johnston’s of Elgin and is a beautiful cloth. The pictures that follow don’t really do it justice. Its a cloth that when worn, due to whatever the ambient light of the day may be, means that it actually can look as if it is one of three different colours. The base colour of the cloth can either look green, blueish or greyish. Now that may sound a little strange, but when you deal with quality cloth merchants like I do, that weave superb complex cloth colours together you can get a lot of cloth for your money. I absolutely love this cloth.
The pictures that I am putting into this post will show the various stages I undertake to make the collar of the coat. I do not have any pre-made collar patterns, every collar that I make is made uniquely for each coat that I make. I make every collar by eye.
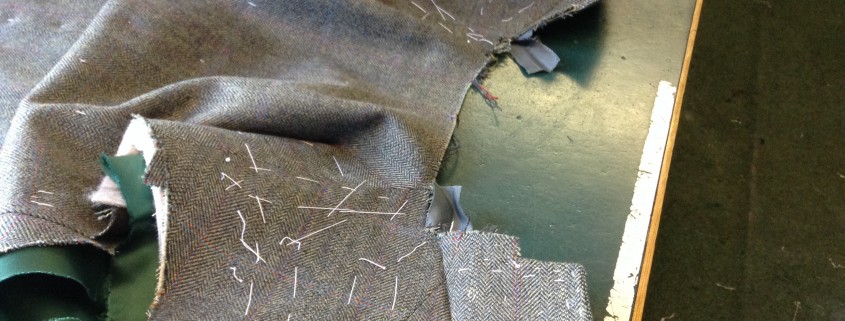
The first picture shows my clients coat laid on my work table ready for the rough cut melton under collar to be basted in place.

This picture shows my clients coat laid on my work table. The neck is ready to add the melton under collar.
The next picture shows the roughed out melton under collar basted onto the coat neck. You can see in this picture the melton extends almost to the end of the lapel tip.
This next picture shows the melton trimmed to shape. You can see the collar curve coming along, and I have trimmed the collar tabs to the size and shape that I think suit this client and his coat best.
The next picture shows the cloth top collar partly hand basted onto the shaped out melton under collar. I have basted this in place to also ensure that the collar matches nicely at the centre back section of the coat on the fall edge of the collar. It is crucial at this stage to ensure that the cloth has plenty of length to ensure a good fit over the shoulders of the coat.
The next two pictures show the top collar completely hand basted into place. One picture shows from the under collar side, the other from the top collar side. You can see the graceful curve I have applied to this collar.
The top collar picture also shows that the hand-made lapel hole is finished. This is a good client of mine, he has had lots of suits, coats and overcoats from me that we are both happy to have worked the hand button holes on his suits etc at the forward fitting stage.
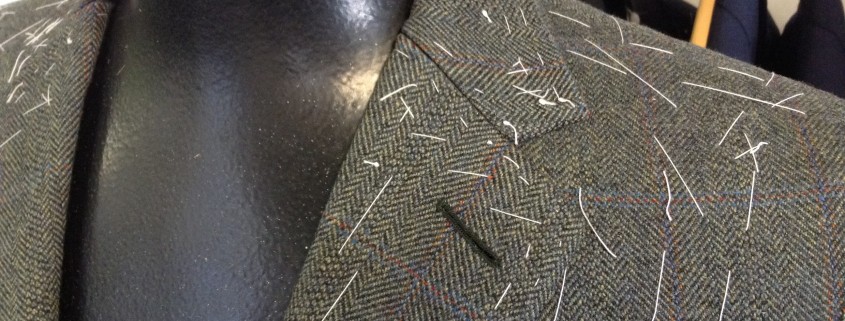
This next picture shows The top collar pressed over in place. The collar is now waiting to be hand drawn together at the lapel and collar seam. You can clearly see the hand made lapel hole that I have also done in green silk.

This shows the collar pressed in place and the gorge seam waiting to be hand sewn together. You can also see the hand made lapel hole I have worked.
This final picture shows the back neck section of the coat collar matching at the centre back neck. The fall edge sits nicely over the shoulders, and around the neck of the coat.
So, there you have it, a little snippet of how I make a coat collar. A bespoke collar made this way will always sit close and tight to your neck and will never stand off, which is a cardinal sin in tailoring terms.
The time taken to get the collar to this stage ? about two and a half hours give or take. To completely finish the collar with all the hand sewing ?Another hour and a half, at least four hours to just make a real bespoke collar. Compare this to the 30 minutes or so for a whole suit to made in a factory, even so called ‘tailor made’ suits. Its your choice, real craftsman made or factory made.
This picture shows the finished coat on my tailors dummy at work. It only needs a slight touch up with a soft press before I deliver it.